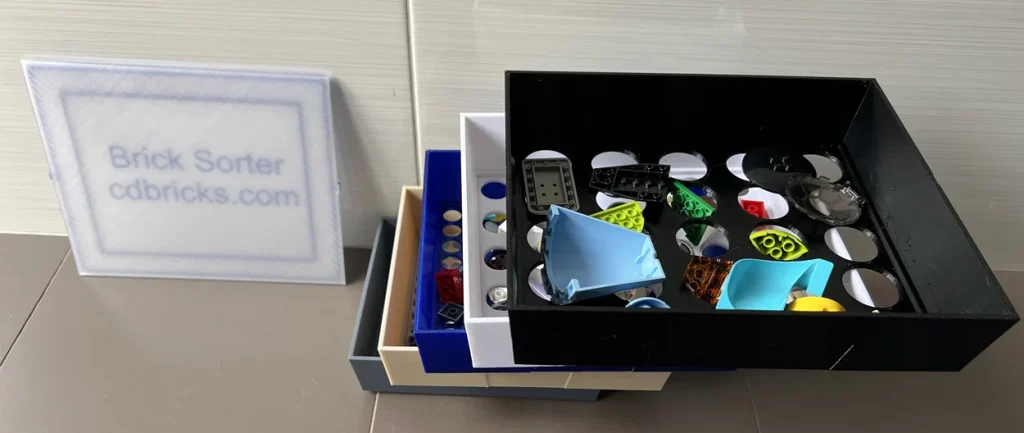
It’s been a while since we posted our original LEGO sorter, but we’ve been hard at work creating an optimised version. With an ever growing LEGO collection, this unit is much easier to store so we have extra room for even more LEGO. It also has a few nifty features including dual stackability.
Is it fully automatic?
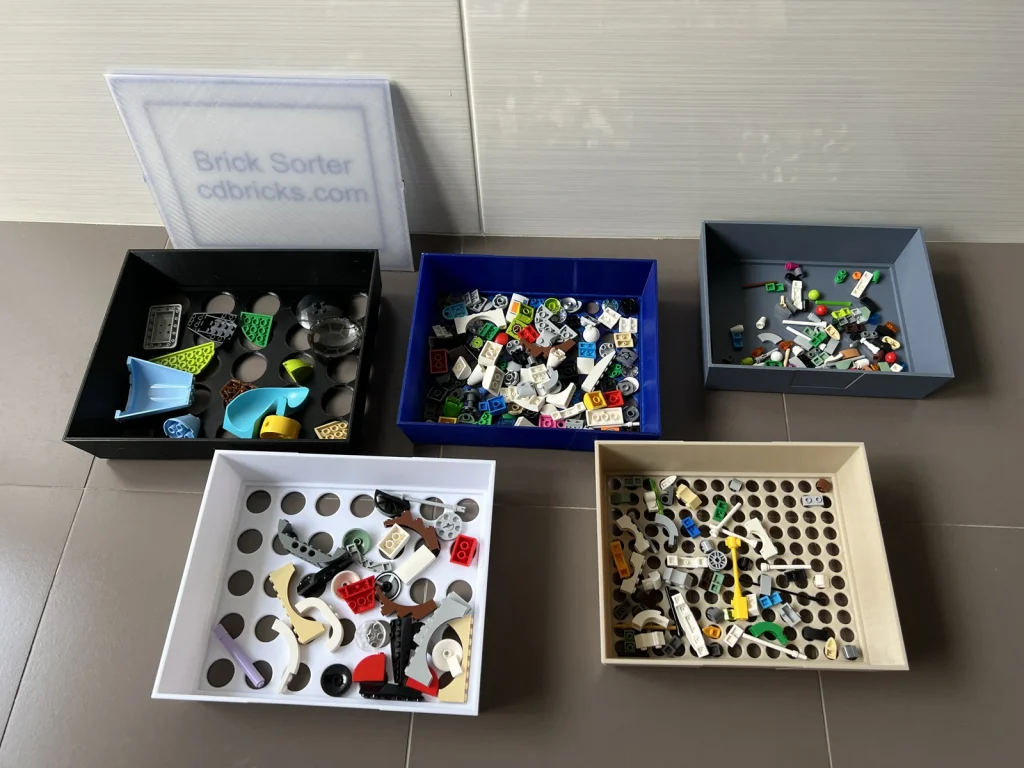
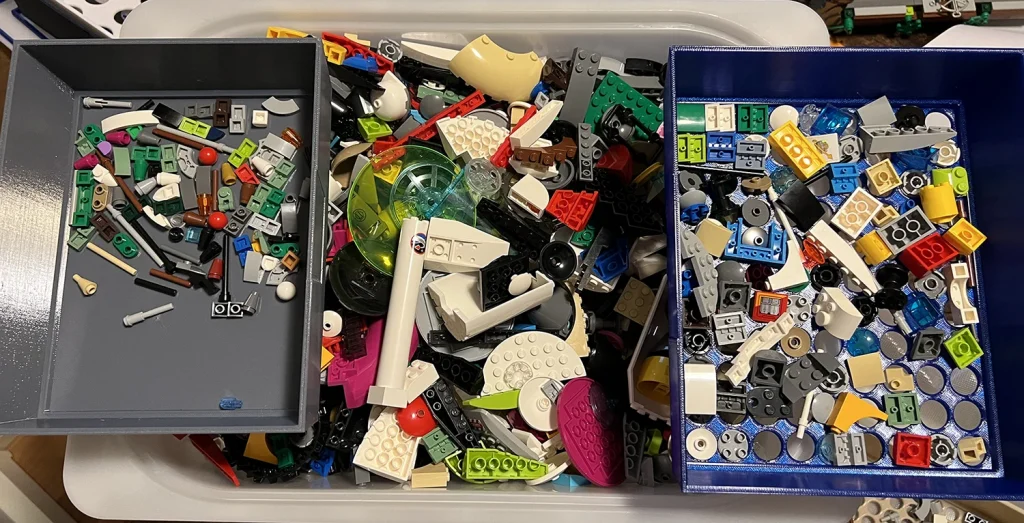
Alas, one can but dream the dream. You still need to sort the LEGO bricks! This is just the first step of the process. By sorting into approximate size, the amount of variation your brain needs to process is vastly reduced. It’s vastly easier to sort through 30-50 shapes rather than say 500-700 shapes as you can see below.
If you were trying to sort pieces would it be easier to shuffle through the large white box in the middle, or the grey and blue sorter trays on the left and right?
After the initial shuffle, the next step is then to sort into individual types of LEGO. The Brick Architect has a great set of guides, but for the love of all things good, DON’T SORT BY COLOUR!
But it looks so pretty? Why not sort by colour?
In a similar manner to above, if you sort by colour, it’s really hard to pick out the specific brick you need. Whereas if you sort by shape, picking the right colour is no dramas at all.
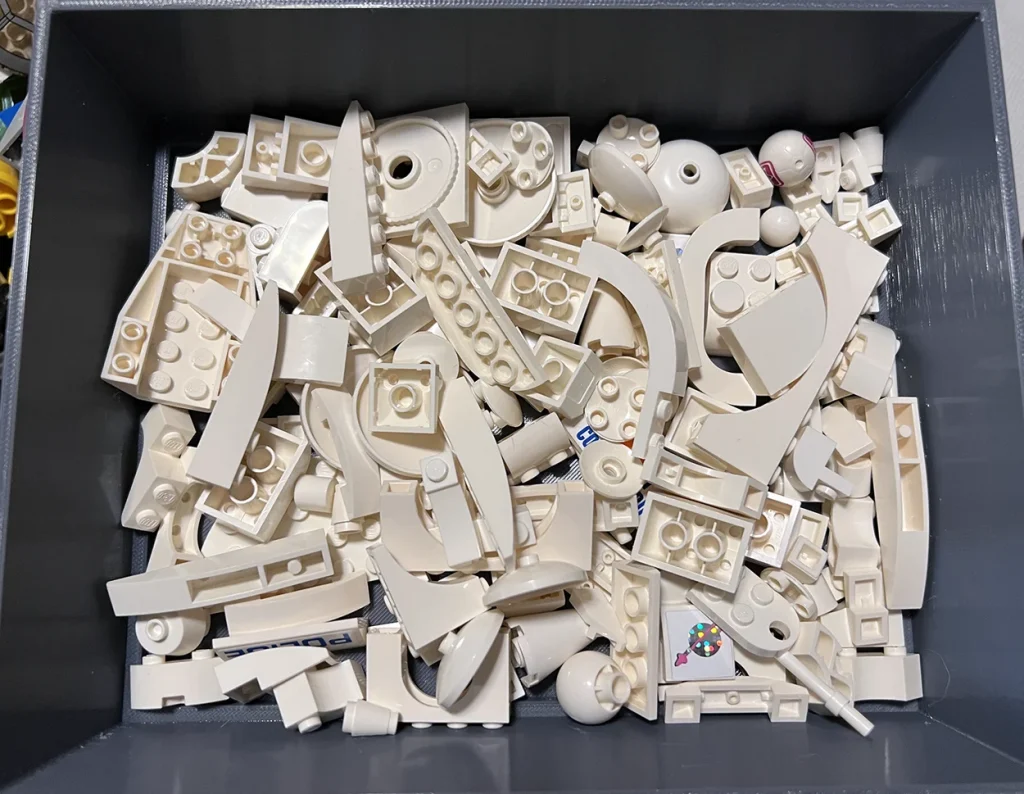
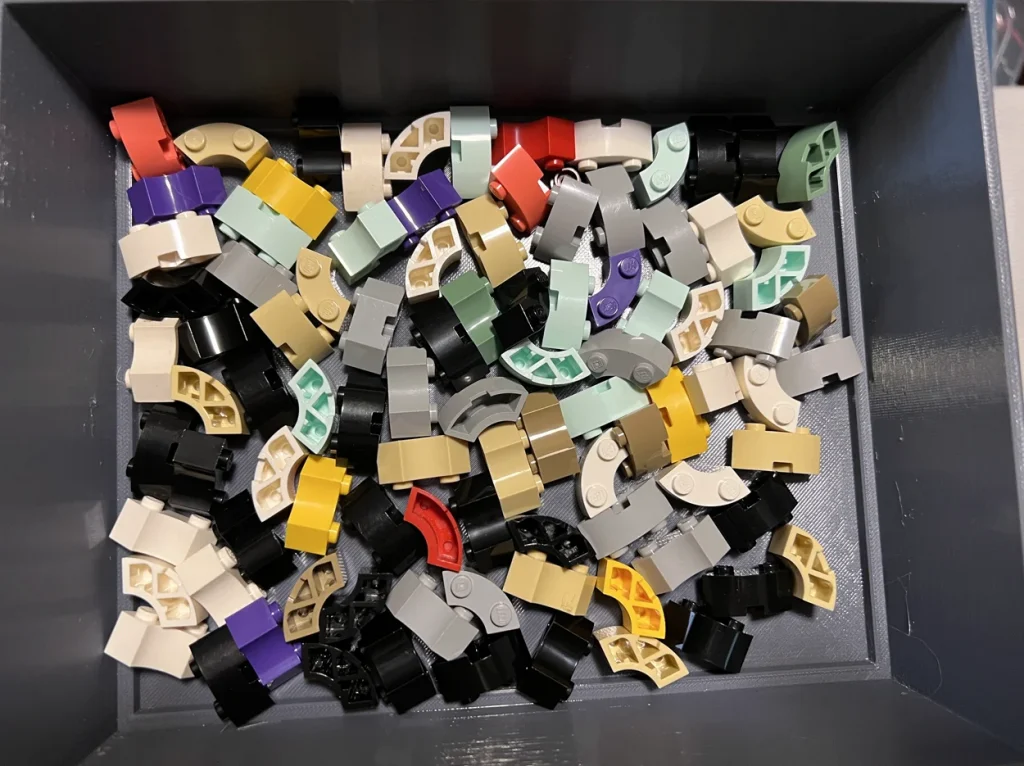
Imagine you’re chasing a white 2 x 2 corner. Which option would be much easier to find it in?
Option A
Sorted by Colour
Option B
Sorted by Shape
Case closed, your Honour!
Doesn’t LEGO make a sorting head?
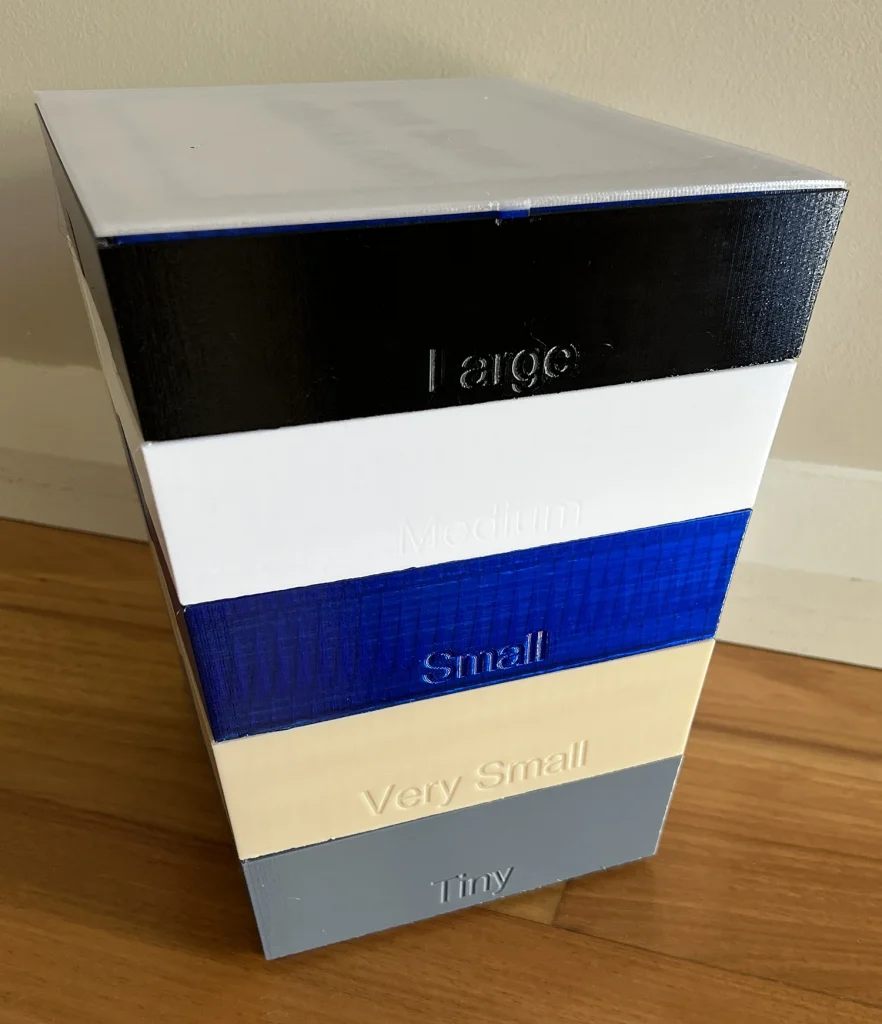
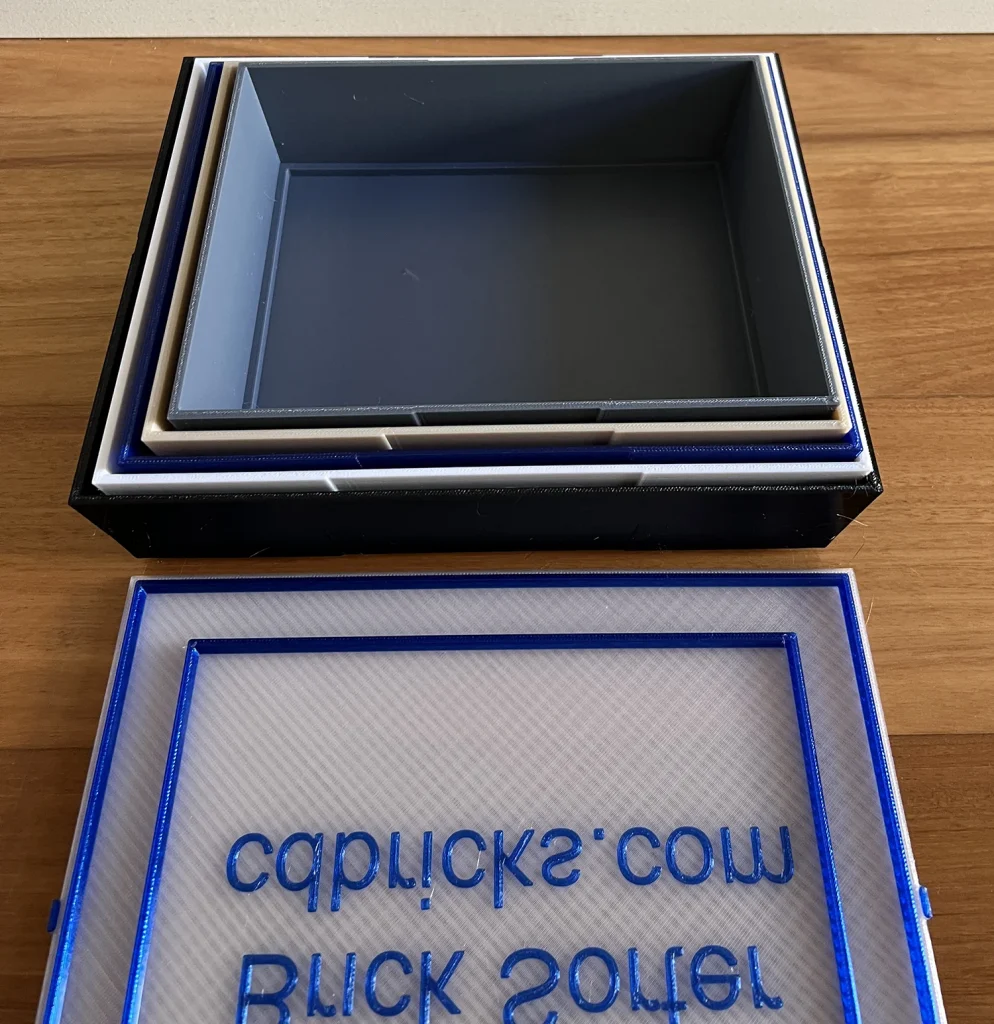
They do, and it’s pretty good. But for larger collections, the increased definition in our model helps speed up the sorting process. By having 5 sections instead of 3, it’s easier to seperate more parts. It’s also stackable when in use, and also reverse stackable (nested) when not in use allowing for a smaller footprint when storing away.
How long does it take?
This is heavily dependent on the speed and settings of your printer. We have a Prusa MK3s+. The estimated time and costs using the 0.3mm Rough Draft settings are shown below. The print cost assumes the filament you are using is $30 Aussie dollars per kilogram. We use eSun PETG from Shapenerd as it’s a great mix of quality and cost, but you can also use PLA or ABS if you like. If you’re in Western Australia, highly recommend the Shapenerd crew. Great people and very knowledgeable.
Update: Since the original post, we’ve revised the solution and removed all text bar a small note on the lid. We’ve also reduced the perimeter walls to 2mm which is still sufficient, but saves 13 hours print time. The updated files are available on our printables page.
| Component | Print Time (2mm Perimeter – No Text) | Print Time (3mm Perimeter & Text) | Filament Cost |
|---|---|---|---|
| Tiny | 6 hrs 34 mins | 9 hrs 11 mins | $3.99 |
| Very Small | 7 hrs 19 mins | 9 hrs 35 mins | $3.91 |
| Small | 7 hrs 9 mins | 9 hrs 20 mins | $4.05 |
| Medium | 7 hrs 53 mins | 10 hrs 11 mins | $4.77 |
| Large | 7 hrs 52 mins | 10 hrs 44 mins | $4.80 |
| Lid | 5 hrs 29 mins | 6 hrs 22 mins | $3.48 |
| TOTALS | 42 Hours, 16 mins | 55 Hours, 23 mins | $25.00 |
Any special notes?
If you’re not going to use the pre-defined G-Codes, don’t forget to remove the supports for the text. They aren’t needed, but your slicer may try to add them anyway. It’s not critical if they do print, but will waste a little of your filament.
Awesome, where can I download the files?
Head on over to our printables page, to download the latest and greatest version.
CLICK HERE TO DOWNLOAD
This could be the justification I have been searching for buying a 3D Printer (I’ve always wanted one, especially the SnapMaker 2.0 when it came out, but never had a good enough reason to buy one.)
It is definitely a great way to justify it!
Make sure that whatever printer you choose has a minimum print bed size of 25×21×21 cm. The height doesn’t really matter as the models are not very tall, but the 25cm x 21cm definitely do as we use the entire print bed.
I posted a “remix” of your sorter trays for printing on the 18cm x 18cm bed of a Prusa Mini+ on printables.
Do your trays hold tightly to each other when in the sorting position? My modified trays do not, probably because of the cut and paste method I used did not preserve design tolerances.
Hi Rob,
They do sit quite nicely together on the full size version. I’ll have a look at updating it in the next week or so for the Prusa Mini + and post here once done.
Loving this but not sure if this will fit on my Ender 3. I might have to wait for the 18×18 version unless anyone knows if it will fit the Ender.
It definitely wouldn’t, but I’ve built you a new version here:
https://www.printables.com/model/346074-lego-brick-sorter-sorting-shaker-mini-version
Enjoy and Merry Xmas!
i am not sure what i am doing wrong with this file. i have printed the very small twice now and both time my walls are not strop and almost dont seem to bond correct. but the base and everything else is sturdy. any input from fellow printers would be great. printing the newer smaller model on a ender 3.