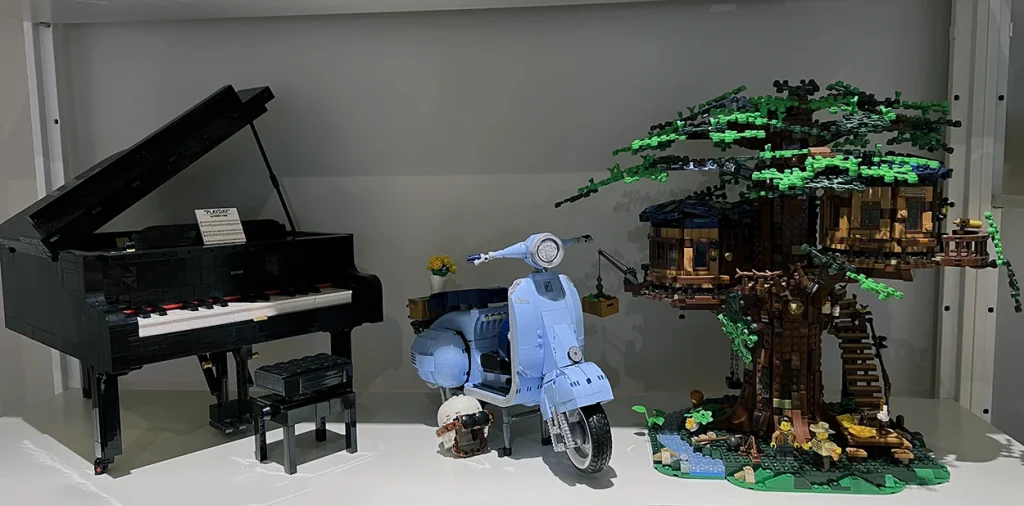
We love to display our favourite LEGO sets in the Casadebricks household. I’m a bit too afraid to tell friends how much we’ve spent on cabinetry and shelving just for this purpose. There’s something really soothing at looking at some of your favourite sets.
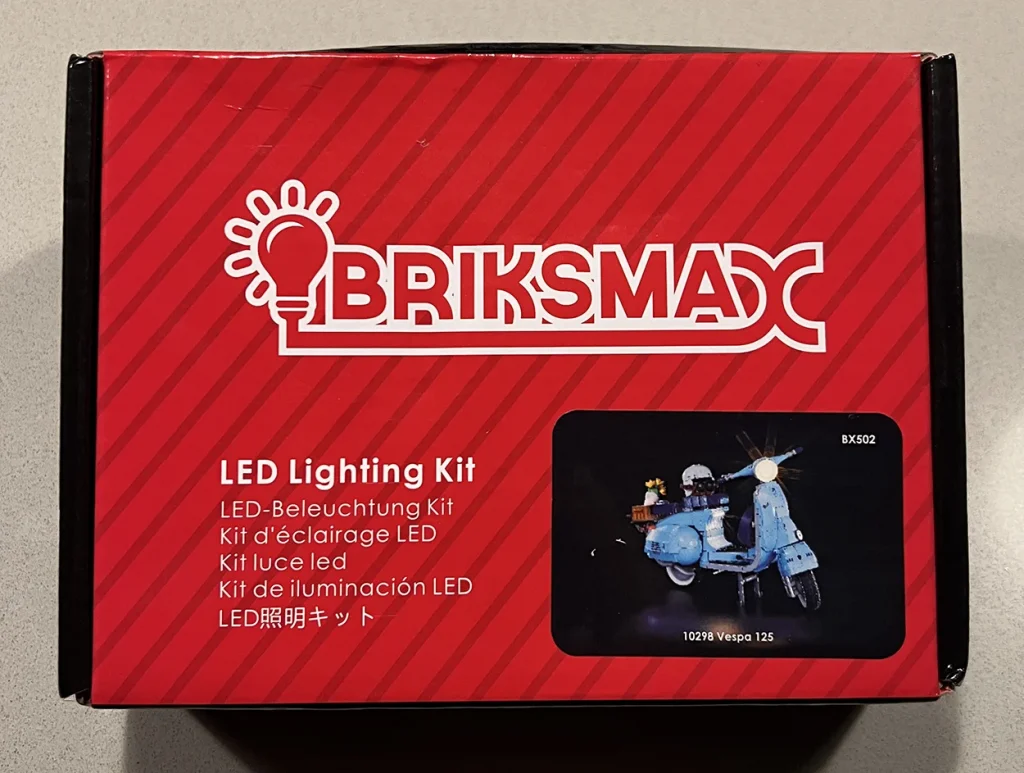
Over the past few years, we’ve seen ads pop up talking about lighting sets, but never taken the time to look too much further. I liked the idea but suspected it would just be too fiddly to go back to a previous set to add the lights. But a friend at the PerthLUG was selling a Light my Bricks addon for the London Bus so I took the plunge. At almost the same time the team from Briksmax sent through the set for the Vespa 125. It was quite a coincidence but great timing as we were about to review the Vespa 125 set (which we’ve now published just yesterday!).
Retailing for $32.99 USD with $9.99 shipping the total cost in Aussie dollars to Perth is $62.20 at the exchange rate at the time of writing. In comparison Light My Bricks have a version that sells for $39.99 AUD with shipping at $7.99 totalling $47.98 or 77% of the cost. It must be said though that the Briksmax set does have two extra lights – one inside the flowers at the rear and one lighting up the foot well area. So overall, it’s priced competitively.
Now lets get stuck into the review. The box itself is nicely packed and should survive any shipping maladies. Inside the box each component is individually wrapped and labelled and printed instructions are included.
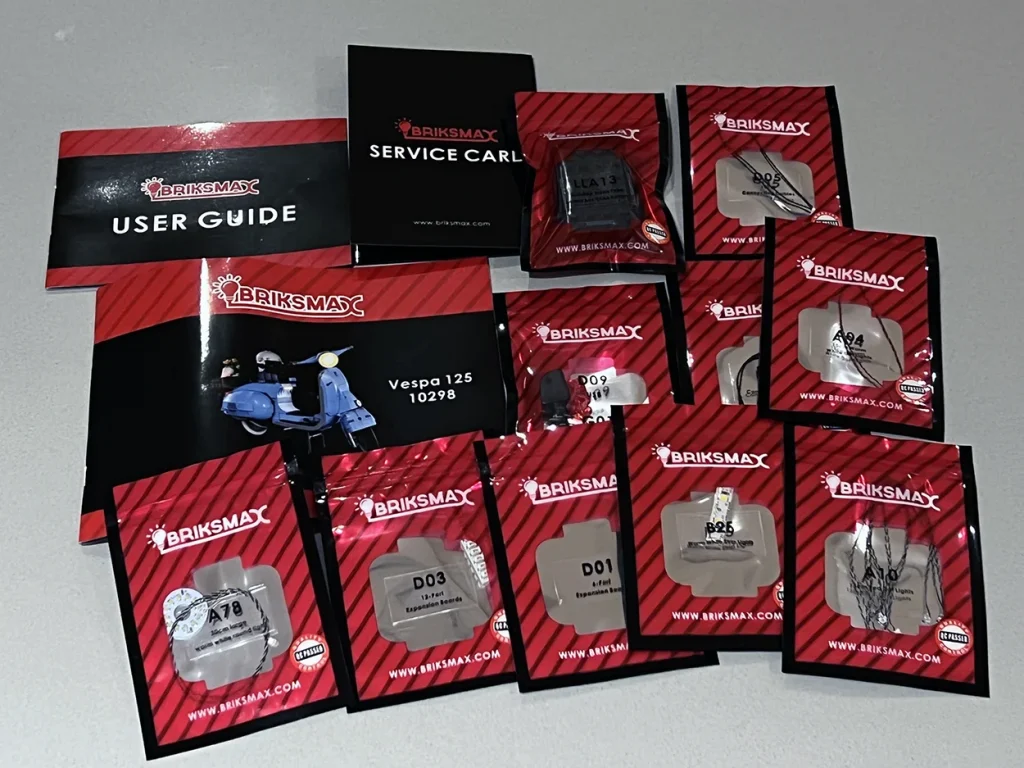
That’s slightly different to the Light My Bricks approach where the instructions are digital. I can undestand the benefits of digital as updates can be made and it saves the environment. No doubt this is where all sets are likely going (including the LEGO group itself most likely) but for now we really love the printed instructions. The instructions are based around a completed model that you deconstruct and then rebuild with the lights in place. It’s really clear and well presented.
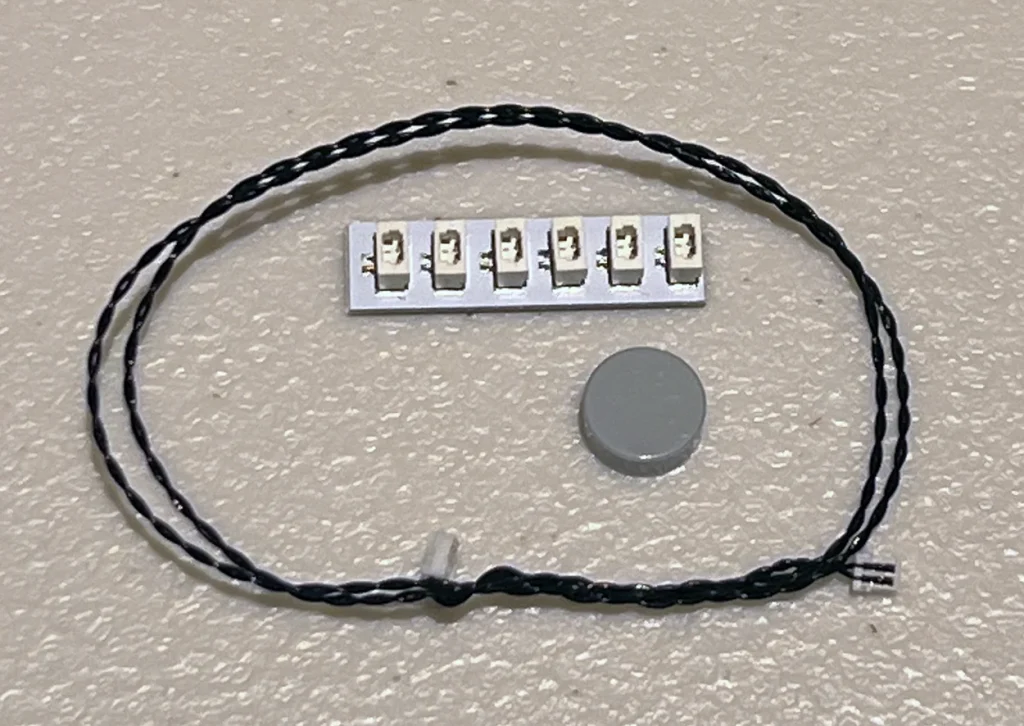
The first thing that blew my mind was just how tiny the wires are! It makes sense when you think about it as they need to fit around studs and between the bricks, but they are really, REALLY small. Those with sausage fingers need to not apply! You can see just how small compared to a single 1 x 1 tile below.

The set comes with a variety of different lights, all 5v LED’s. The primary light is for the headlamp with multiple LED’s arranged in a circular fashion. As you can see below it fits nicely within the cowling and the instructions are clear. Each LED (or array of LED’s) has a thin wire that runs back to an expansion board. You can think of this just like the standard extension boards you have at home. You plug in all the LED’s and then connect the battery and away you go. The set also includes small adhesive stickers so you can mount the components as required.
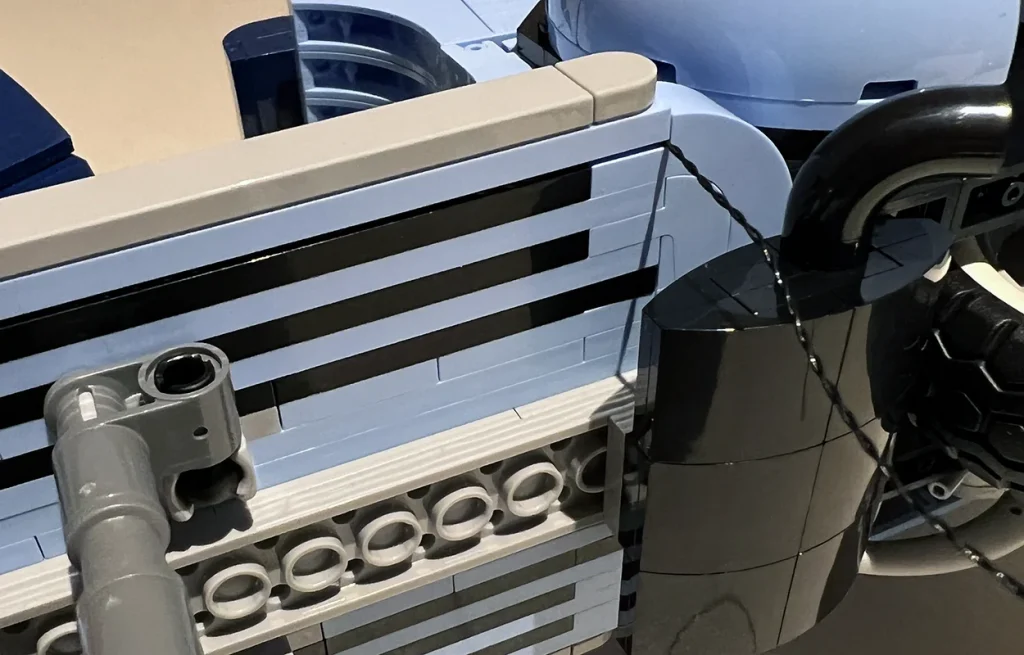
Running the wires back to the extension board is quite simple. Generally due to the small size, you can snake the wire through studs and then place the next brick on top. As shown, the top bricks don’t perfectly mount, but it’s pretty close. When on display, you can hardly notice it, but as I was building it, it doesn’t give me the same satisfaction as really clean clipped together bricks. I suspect this, combined with the relatively fragility is why the LEGO group haven’t yet released a similar lighting set.
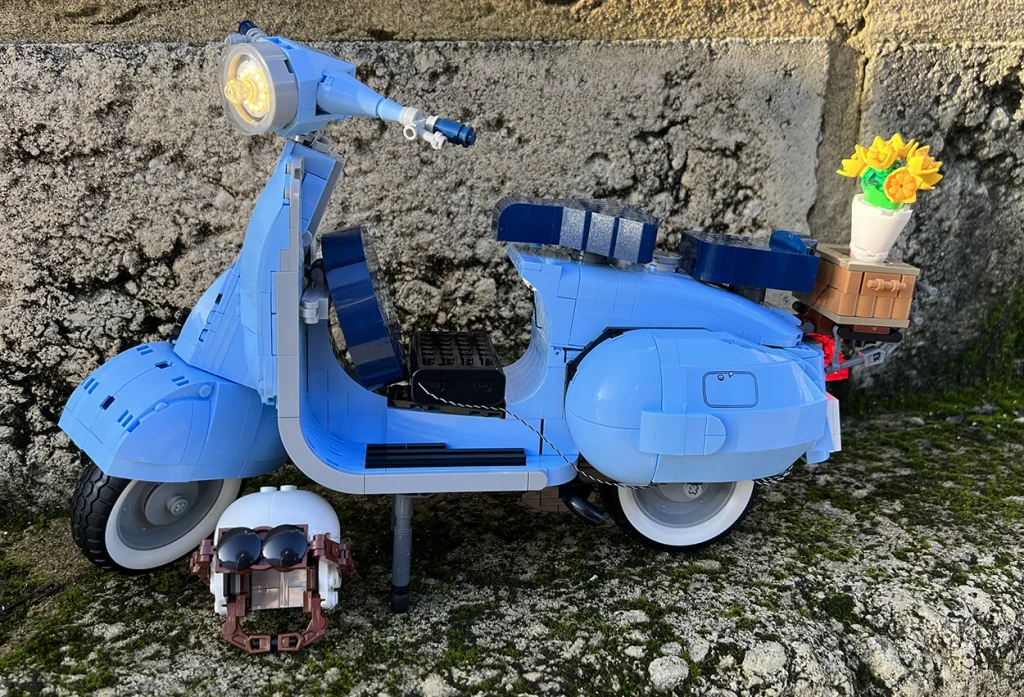
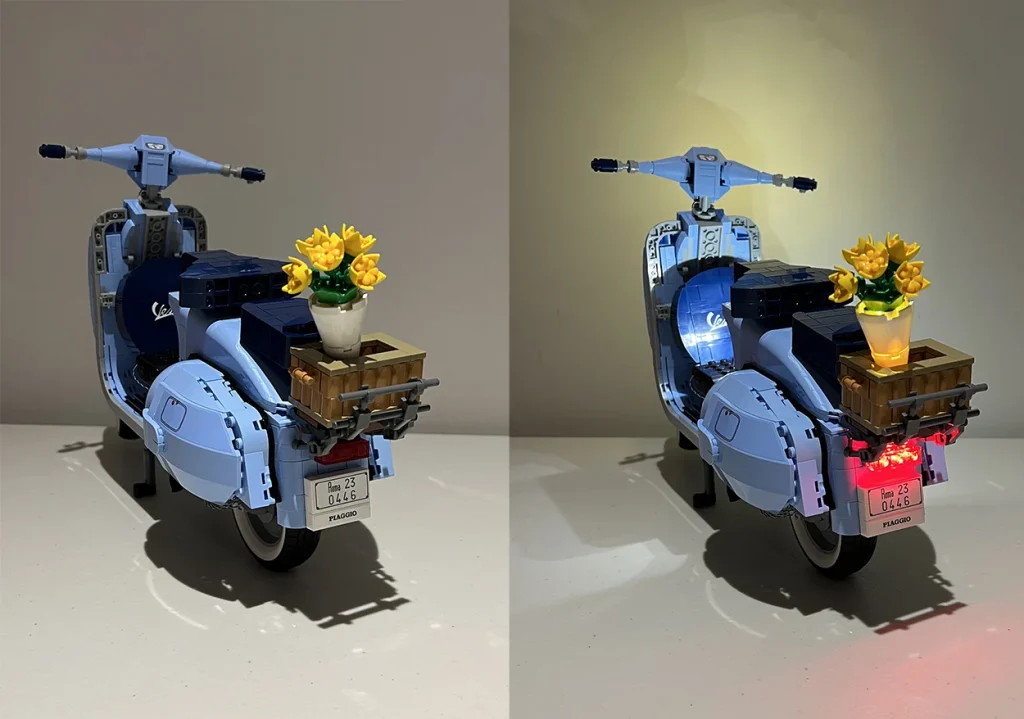
For the rear lights we move on to single stud size LED’s. These literally sit on top of a stud and are covered by the cheese grater translucent red brick. I was pleased to see that 2 x genuine LEGO cheese grater bricks were included as the inclusion of anything other than genuine bricks would be a no go for me. We’ve all bought bulk lots of LEGO from Facebook before and then spent the next 2 years trying to cull the invaders.

This particular set is almost perfect for the lights as the rear bulges are perfect for hiding the large extension board needed to support the tail-lights, lights in the flowers and footwell illumination light.
Once it’s all connected together, the final step is to connect a power source. Two options are supplied. A USB plug which provides a 5v supply and a lead length of around 25cm. The alternative and what we chose is the 4.5v battery pack which uses 3 x 1.5v AAA batteries and lets you take the set anywhere you want to go. It’s slightly less voltage so is a touch less bright, but certainly still looks great. For the Vespa set it can also be mounted on the footwell a little like what you may do if carrying a suitcase so almost looks like part of the model. The battery case has the slot for a screw to secure the batteries, but there was no screw in the pack I received. Not a major issue though.
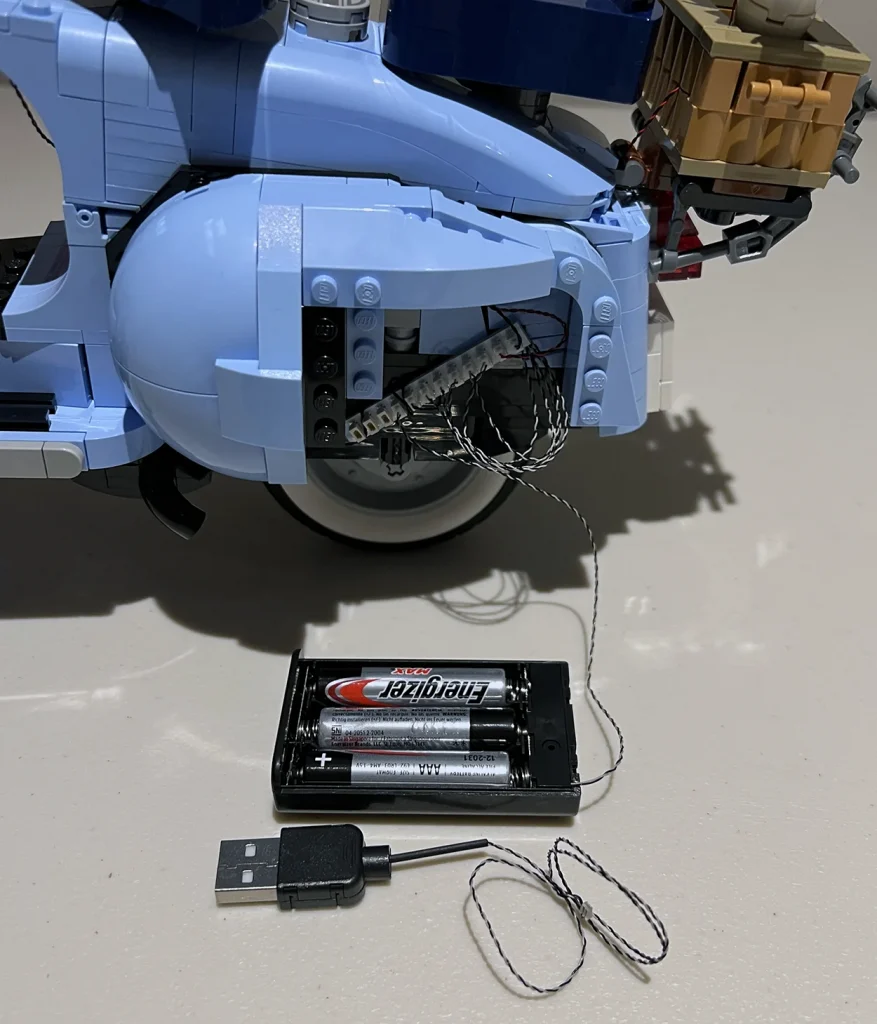
I must admit, I would really have loved to see some form of alternative battery used for this set. Even if it meant a much shorter run time. For example, using a combination of 1.5v coin cell batteries in parallel and series and would have been able to be entirely hidden in a side cowl.
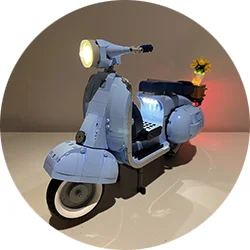
And now, the final test! On the battery pack, a small slide toggle turns the battery pack on and… LET THERE BE LIGHT!
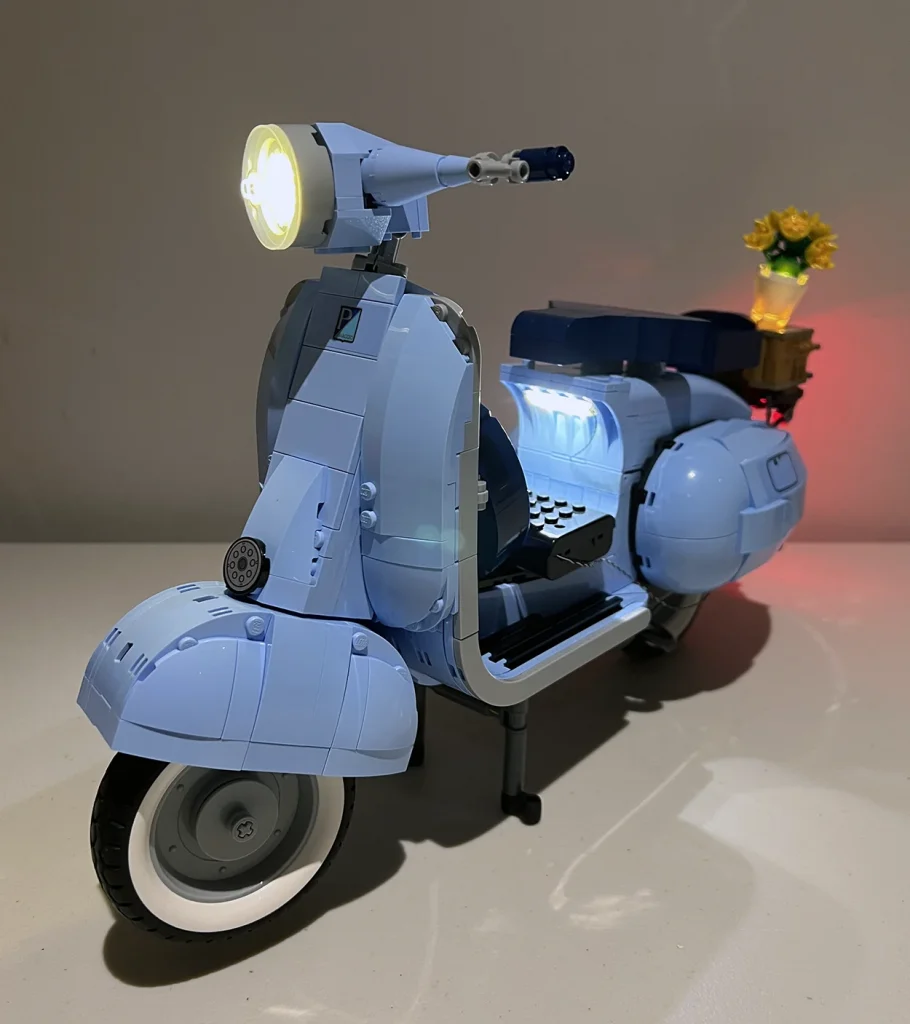
It looks pretty amazing. The light is uniform and definitely gives the model some extra pop.
Overall Thoughts
Overall, this was a fantastic learning curve for me. There is a couple of things that could have been improved on the set, but given the constraints that exist it really does enhance the model. Obviously battery life will eventually be an issue, but the AAA’s should last quite some time. Setting up the USB plug and running off a wall wort would solve this. I expect at 5v the LED’s would last for a very long time.
My main hesitations in an all out recommendation is the cost of the light sets. In this case, the light set is 36% of the total set price. It’s not a cheap addition. A secondary hesitation is the way the bricks don’t clip perfectly together when cables are running under them. This is not a criticism of Briksmax as all light sets are the same, however it does very slightly trigger my desire for clean lines.

Notwithstanding, if money’s no object and you don’t mind the slightly misaligned bricks, this light set is an amazing way to make you Vespa stand out!

Set: Briksmax Vespa 125 Light Kit
Theme: NA
Set #: To suit 10298
Number of Minifigs: NA
Number of Pieces: NA
RRP: ~$63.00 AUD
A special thanks to the team at Briksmax who supplied this light set for review.
Overall: 71%